Child-parent project
"Our safe route "HOUSE - KINDERGARTEN ».
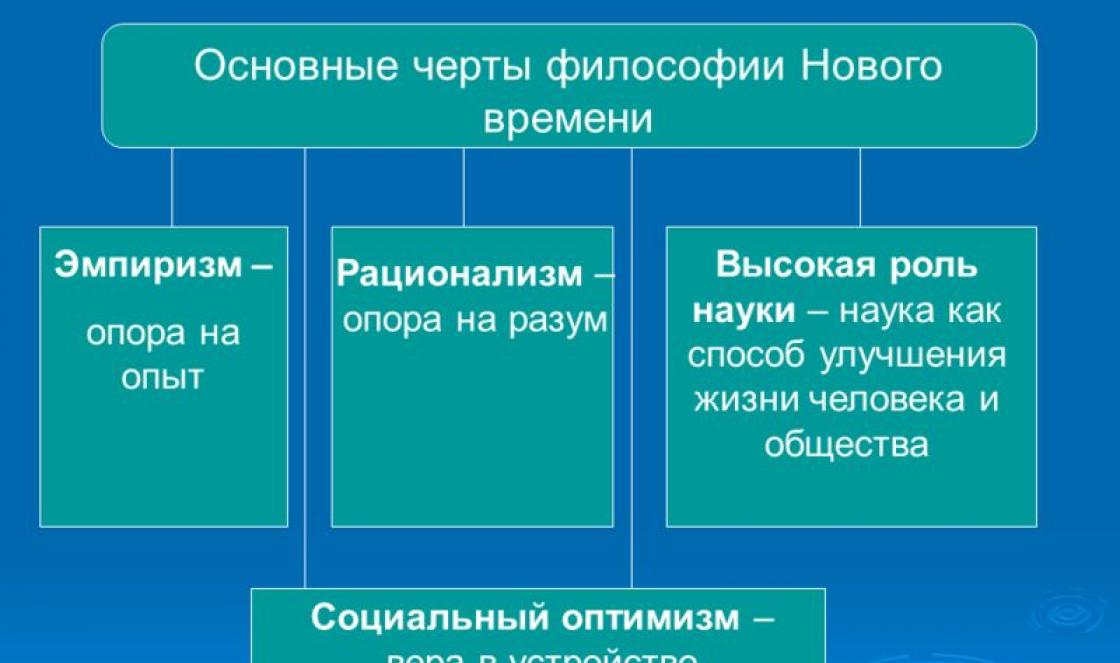
The relevance of the project.
Every year the intensity of traffic on the roads is increasing, and with it the number of traffic accidents is increasing. That is why the topic of prevention of road traffic injuries among pupils of preschool educational institutions is always relevant. Preschool children are a special category of pedestrians and passengers. A preschooler simply needs to be introduced to safe behavior on the streets, roads, and traffic rules by holding events in various forms. Moreover, most of them should be illustrated, theatrical, musical and playful. Any child will quickly understand and learn traffic rules, presented not only in an ordinary conversation, but also in a road fairy tale close to children, a game. Considering the special significance of work in this direction, this project was developed.
Goals and objectives of the project.
1. Skill building safe behavior on the road, through the use of the mapping method - safe route models.2. Learning the safest way to kindergarten.
3. Create conditions for studying and compiling routes using symbols.
4. Consolidation of knowledge in children of their address of residence.
5. Development of the child's creative abilities.
6. Involving parents in active participation in the activities of the group on the problem of the project.
7. Increase the safety of the child's movement to kindergarten and back.
8. Teach the child to navigate in traffic situations on the way to kindergarten and back.
9. Teach parents involved in the preparation of the route, orientation in traffic conditions and the prevention of possible dangers.
Project Implementation Plan.
1. Consultation for parents "Rules for transporting children in a car." "Discipline on the street is the key to safe behavior ».
2. Memo on the rules of the road "Children be disciplined on the street!".
3. Homework for the development of the route "Home - Kindergarten".
4.Practical action of the family.
5. Discussion in a group. The child should be able to explain the route drawn up for him.
6. Reading literary works, learning poems.
7. Games in the family circle.
8. Conversation "In the world of road signs."
Activities aimed at the implementation of the project.
1. Consultations for parents.
2. Theoretical discussion of routes. 3. Development of a series of routes and their application in practice.
4. Joint play activity of the child with parents.
Implementation period.
Short. 2 - 3 weeks.
List of participants.
Individual.
Project participants: pupils middle group A.
Educators: Alexandrova E.V.
Burenkova S.V.
APPLICATION.
"Road route STEPANOV VSEVOLOD"
"Road route of KOBOZOVOY DARINA"
"Road route Voinkova Yana"
"Road route Gavrilov Oleg"
"Road route Galunzovsky Artyom"
Theoretical discussion of the project . Photo report.
Preparing to draw a route sheet from home to school
To start drawing a route, you should be well prepared for this work:
- Prepare a real map. You can get directions using Google maps, zoom in and print;
- Get some blank sheets. Drawing a route from home to school is not always done with one sheet, sometimes a draft is needed. For homework to school, you can use a notebook sheet or regular A4. If you are drawing a diagram for home use, then it is better to depict the route on whatman paper.
- Sharpen pencils and colored pencils. It is recommended to draw with pencils, as it is very easy to draw small details with them.
How to draw a route from home to school
If you printed a map from the Internet, then the task is very easy to complete. The first thing to do is to draw the main or largest street.
Put on it some important objects that your child remembers. It has a shopping center where the child often buys toys, a house best friend or maybe his kindergarten is located there? Fix and sign this place. 
Draw the house and school in relation to this street. Be sure to write “school” and “home” in large letters. And highlight both places with bright colors. 
If you are drawing a non-schematic map from home to school, then it is worth highlighting the roadway and sidewalk separately. Draw a traffic light and a crossing where the child crosses this road. 

For those who travel by bus or metro, you can mark the safe path to the stop, write its name, write the bus number on the stop itself, or draw it. In addition, it is advisable to sign the number of stops that the child passes. The further path should start from the final stop to the school.
Safe route from home to school
- In the event that the child has several options for the way to school, it is worth choosing the safest one. You should not choose a path where there is heavy traffic or dark deserted streets;
- Before your child goes to school independently, make sure that the child has learned ( green signal traffic lights, which side to bypass public transport and others). The route map from home to school should reflect all the dangers that may arise on the way of the child. These can be sharp turns, cars leaving the enterprise, often a broken traffic light, a street with heavy traffic, any visibility restrictions, etc.;
- Use conventions. You can take those that the student already knows, or come up with your own. It is better if the child independently identifies and draws these icons. So it will be easier for him to remember what meaning they carry. Below, under your map, place icons with an explanation of what they mean.
When drawing a route sheet, you need not only to fix the entire path and all the important objects that come across on the way, but also to highlight the danger zones. Highlight them with a bright color, signing "danger".
Be sure to follow the route with the child right on this map upon completion of your drawing. If such a walk is not yet possible, make little men out of paper and play with the baby in role play.
When drawing a route map from home to school, remember that this is first of all a hint for your child, which will ensure his safety, and only then - seemingly routine homework.
Something similar was asked of my daughter at school. Draw a road from home to educational institution using pencils. It can be colored, it can be simple. They indicated some symbols in the form of house numbers past which the route passed. I think if you need to focus on some landmark or a rather dangerous section of the route, you can highlight it in red, where it is safer - in green. After creating the scheme, they glued it into the diary with dry glue. That's all.
When you go to school, mark every house, every street that you pass. Try to mark them so that they are proportional to their actual size. And then transfer your sketches to paper in the form of a plan like this:
It is not necessary to do everything so geometrically precisely and reliably. The main thing is to match the number of large objects (houses, gardens, buildings, roads, shops) that you pass on the way to school.
If you do not go into details and details, then it is expensive from home to the school itself can be depicted as follows:

You are required to depict a school, nearby vegetation, benches. And there should be a road with a place for pedestrians to go to the school.
In our city, in almost all schools, starting from the first grade, children, together with their parents, draw a safe route (if possible, of course) From home to school. There were simply many tragic cases when children died under the wheels of a car. Therefore, parents draw a route with the child and then discuss it in class. A lesson in survival on the roads. You can draw roads, a school and all pedestrian crossings. This must be taken very seriously.

If we are talking about creating a route sheet in the diary of a school student, then we do it easier.
On the Internet, we find a Google map of our street and streets along the route to school, print out the corresponding section, and mark the route to school on it.
And if it's just a drawing - here you can already be guided by convenience - what is more convenient for the child to draw - with pencils or paints? Of course, the drawing with paints looks more colorful, but it is difficult to write small details on it. At the same time, drawing with a pencil will allow the child to draw small details. Only now you need to pick up pencils not pale, but bright - then it will be pleasant to draw with them.
The drawing can depict houses, trees, a road, cars and buses, and other students. You can detail the drawing with the image of a traffic light on the road, a pedestrian crossing.
As I understand it, this is a task from lower grades drawing schools?
Then it is best not to go into a detailed plan, the child will not understand it, and even more so it is not worth drawing a map.
by the most the best option will draw a school in one corner, and a house in the opposite, draw a slightly winding line - the road and draw objects on the sides that the child remembers when walking along this path.
You can do the following: in Yandex maps or Google maps, find the place where the school and the child's home are located, print a map of the area (rather, even a plan) and draw the best safe route on it.
If this is a free drawing and not a plan-scheme of the route home-school-home, then you should not go into details. Just on a regular sheet, in a free version, draw at least a little similar silhouettes of the house and school, and the main objects (monuments, fountains, bus stops), well, the contours of the roads, without much respect for scale.
We also drew the road from home to school for the child, but we needed a more or less accurate home-school-home route plan as a real guide for orienting in the area. You can draw it in two ways -
If you have a printer, you can simply print a map of this area, open in Google, in black and white, and color the objects at your discretion (houses, roads, and everything else)
If there is no printer (as we had), you can simply put a sheet of paper on the screen and carefully draw the streets and houses that appear through the sheet. Next, paint with the desired colors. You get a fairly realistic scale, at the same time drawn as if on your own without specials. funds - cards, printers and other things. Directly on the drawings with arrows, you can mark the location of the school and the house, and connect them along the shortest and safest path along the road line with a red or other bright felt-tip pen.
In the explanation to the picture, you should indicate the address of the house, the address of the school and a description of the places where the child should show Special attention when moving.

The colors of pencils or paints should be somewhat contrasting so as not to merge into one picture, and it would be easier for the child to quickly determine the direction of roads and surrounding objects.

You can draw a street with houses, trees, highways, pedestrian crossings, traffic lights, cars, and in the distance depict a school building. As a basis for such a drawing, you can take an example from a video depicting a city.
If the task is simply to create a drawing (for elementary school students), then we do it simply: we take pencils or paints and start creating: we draw our small house in the lower left corner. In the upper right draw a school. Between them there is a road with turns. On both sides of the road are the main objects. For example, a shop, a kindergarten, garages, a park, a river. If the school is nearby, we draw neighboring houses, a yard, trees.
The route of movement from home to school and back is not difficult to draw. It can contain both objects that you directly encounter along the way, and distant ones. We give a lesson on how to draw a route from your home to school in general terms. We are sure that you understand that each child has such a route is strictly individual. In your own way, you will have roads, houses, real estate objects that are on your way, pedestrian crossings. You just have to understand how such a route is built in general terms, what elements it consists of. Well, let's start!
Stage 1. Draw general form our route. On paper, we build a large rectangle almost along the entire perimeter of the sheet. These are the boundaries of our route. We divide it into several parts by road lines. Each road consists of two lines. We will have two roads here: one, long, along the sheet, the other, shorter - across, it connects to the long road, but does not cross it. That is, we have two streets on the route. At the bottom of the left side of the sheet, draw four rectangles. These are houses on your street, one of them, the most extreme, will be your place of residence.

Stage 2. Now we draw the lines of footpaths - sidewalks. These are straight lines, parallel to each other at a distance narrower than the lines of carriageways. Here we will depict the outlines of the school. At the top of the sheet we will draw a rectangle - the school yard, and in it we will show the building of your educational institution.

Stage 3. Now we will mark two buildings with crosses: the school and your house. Then, with dotted lines, we will depict your way from school home along the school yard, then along one sidewalk, then crossing the road through a pedestrian crossing, then along another sidewalk, and so on until your house. This is your daily journey from home to school and back.

Stage 4. At this stage, near the sidewalks from different sides, we will draw objects with rectangles, near which we pass along the road. This is a large rectangle - a hypermarket and small squares - shops. They are opposite each other at the pedestrian crossing. Behind the shops, we denote a distant object with a curved line - the border of the park.

Stage 5. Now we will draw another footpath across the roadway, in front of your house across road three residential buildings similar to yours. Behind them, a little further away, we will place a large oval - this is a stadium. It is also a distant object.

Stage 6. Here we will color our route. Let's do it at home blue color. Orange stadium. A green park, a hypermarket and lilac shops, a gray school. Roads for cars are light gray, sidewalks are dark gray. We will highlight your route of movement with a red dotted line.

Stage 7. It remains to put inscriptions on the elements of our route. Make them clearly black on light objects and white on dark objects.
Try to draw a route from school to home with your child. This fun activity will help him prepare for independent hikes without your accompaniment.
How to draw a plan with a diagram
For work, prepare a drawing paper, a ruler, sharpen pencils. To make it easier, grab a map or open the google maps app.
You can draw a route from school to home with your child
Here step-by-step instruction for work:
- Draw a frame on the paper. In its center, draw the main road with a wide stripe, and adjoining roads with thin stripes. Rectangles depict all the houses, one of which is yours.
- In the upper corner of the drawing, sketch the school building and the school yard.
- With a pencil of a different color, draw the footpaths.
- Mark the house and school with crosses. Connect the end points of the route with a dotted line.
- Mark zebras and traffic lights on the child's path where he will cross the road.
- Draw in all the other objects that the child passes by - parks, supermarkets, office buildings, etc.
- Sign all objects in clear and large letters.
If you wish, you can decorate the drawing to make it more interesting for the baby.
Here are a few more things to consider:
- If the school can be reached within a few different ways, choose the safest option, i.e. one with a less busy road, no dark alleys, etc.
- For symbols, you can use not only generally accepted icons, but also those that your child invents. So it will be easier for him to remember how the map is arranged, what and where is located.
- You can highlight especially dangerous zones on the route in red and sign the word “danger”. For example, this can be used to designate abandoned houses, construction sites and other similar places.
- At least once go with your child along the traced route, armed with your drawing. You can also cut out a little man from paper and guide him through the drawing, playing a role-playing game.
- Turn the process of drawing a route into a game. The child should be interested so that he does not perceive this task as a routine task.
Be sure to check if your child knows the rules of the road for pedestrians before you let him go on the drawn route for the first time. He must clearly know at which traffic light signal to cross the road, what to do if the traffic light does not work, etc.
Hang the drawing in a prominent place so that the child can remember it. Let the safest way home be imprinted in his mind.